The Art of Making Curd from Milk: A Step-by-Step Guide
Curd, known as yogurt in many cultures, is a staple in numerous cuisines around the world. It’s cherished for its tangy flavor, creamy texture, and probiotic benefits. Making curd at home is a simple and rewarding process that allows you to enjoy fresh, preservative-free yogurt. Here’s a comprehensive guide on how to make curd from milk.
Ingredients and Equipment Needed:
1. Milk: Any type of milk can be used (whole, skimmed, or low-fat). Whole milk yields a richer and creamier curd.
2. Starter Culture: This is a small amount of pre-made curd or yogurt containing live bacteria.
3. Cooking Pot: A stainless steel pot is ideal.
4. Thermometer: Optional, but useful for accuracy.
5. Whisk or Spoon: For stirring.
6. Container: For setting the curd. Glass or stainless steel works best.
Step-by-Step Process:
1. Heating the Milk:
– Pour the desired amount of milk into a clean pot.
– Heat the milk over medium heat until it reaches a gentle boil, around 180°F (82°C). This step helps to kill any undesirable bacteria and prepares the proteins for culturing.
– Stir occasionally to prevent a skin from forming and to avoid scorching at the bottom.
2. Cooling the Milk:
– Once the milk has reached the boiling point, remove it from the heat.
– Allow the milk to cool down to a temperature between 110°F to 115°F (43°C to 46°C). This is the optimal temperature range for the bacteria in the starter culture to thrive.
3. Adding the Starter Culture:
– Take 1 to 2 tablespoons of the starter culture (pre-made curd or yogurt) and add it to the cooled milk.
– Mix thoroughly using a whisk or spoon to ensure the culture is evenly distributed.
4. Incubation:
– Pour the mixture into a clean container.
– Cover the container with a lid or a clean cloth.
– Place the container in a warm environment to maintain the incubation temperature (110°F to 115°F) for 6 to 12 hours. Ideal places include an oven with the light on, a yogurt maker, or a warm corner of the kitchen wrapped in a thick towel.
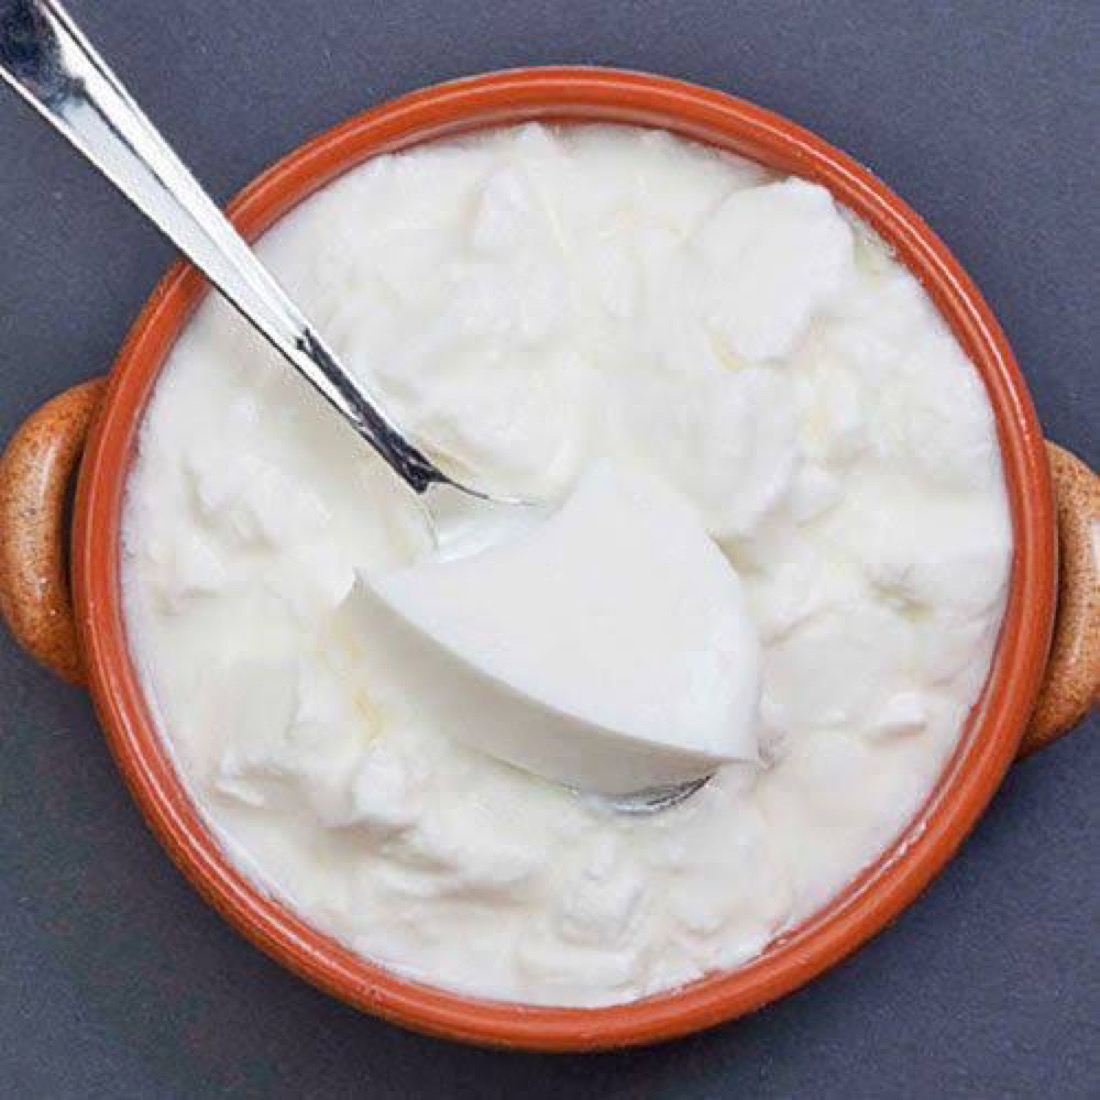
5. Checking the Curd:
– After the incubation period, check the curd for firmness. It should be set and not liquid.
– If it’s still too liquid, leave it for a few more hours.
6. Refrigeration:
– Once the curd has set, refrigerate it for at least 2 hours. This helps to stop the culturing process and allows the curd to firm up further.
– Homemade curd can be stored in the refrigerator for up to a week.
Tips for Perfect Curd:
– Starter Quality: Always use fresh and active starter culture. Using old or inactive culture can result in poor fermentation.
– Consistent Temperature: Maintaining a consistent incubation temperature is crucial for the bacteria to work effectively. Too low, and the bacteria will not multiply; too high, and they may be killed.
– Cleanliness: Ensure all utensils and containers are clean to prevent contamination from unwanted bacteria.
Variations:
– Thicker Curd: For thicker curd, you can add a bit of milk powder to the milk before heating, or strain the curd using a muslin cloth to remove excess whey.
– Flavored Curd: Add flavors like honey, vanilla, or fruit purees after the curd has set for a delicious twist.
Health Benefits of Curd:
Curd is rich in probiotics, which are beneficial for gut health. It aids digestion, boosts the immune system, and is a good source of protein and calcium. Making curd at home ensures you get all these benefits without any additives or preservatives.
Conclusion
Making curd from milk is a simple, time-honored process that brings a range of culinary and health benefits. With just a bit of patience and the right conditions, you can enjoy delicious, fresh, and wholesome curd at home. Whether eaten on its own, mixed with fruit, or used in cooking, homemade curd is a delightful addition to any diet.